Showing posts with label diy. Show all posts

Monday, November 26, 2012

Wedding Photobooth

One of my only wedding requirements was that I wanted a photobooth, because nothing says a fun, happy wedding like funny hat and a fake mustache.


I had debated for a long time, perusing Pinterest for a food guest book idea. I liked the fingerprint tree or balloon ideas, but at the same time it did seem like the best way to remember the people who came since to be honest, I probably wouldn’t be able to identify people by their finger prints!
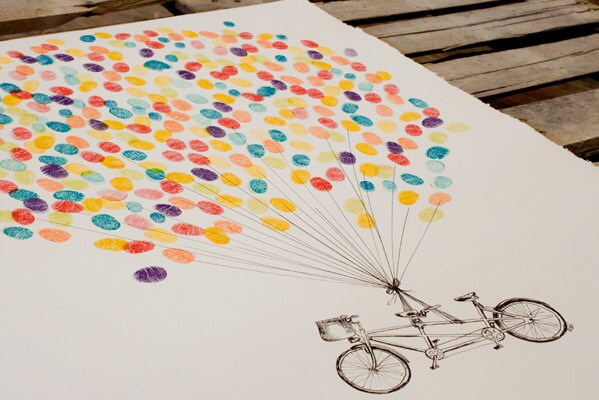
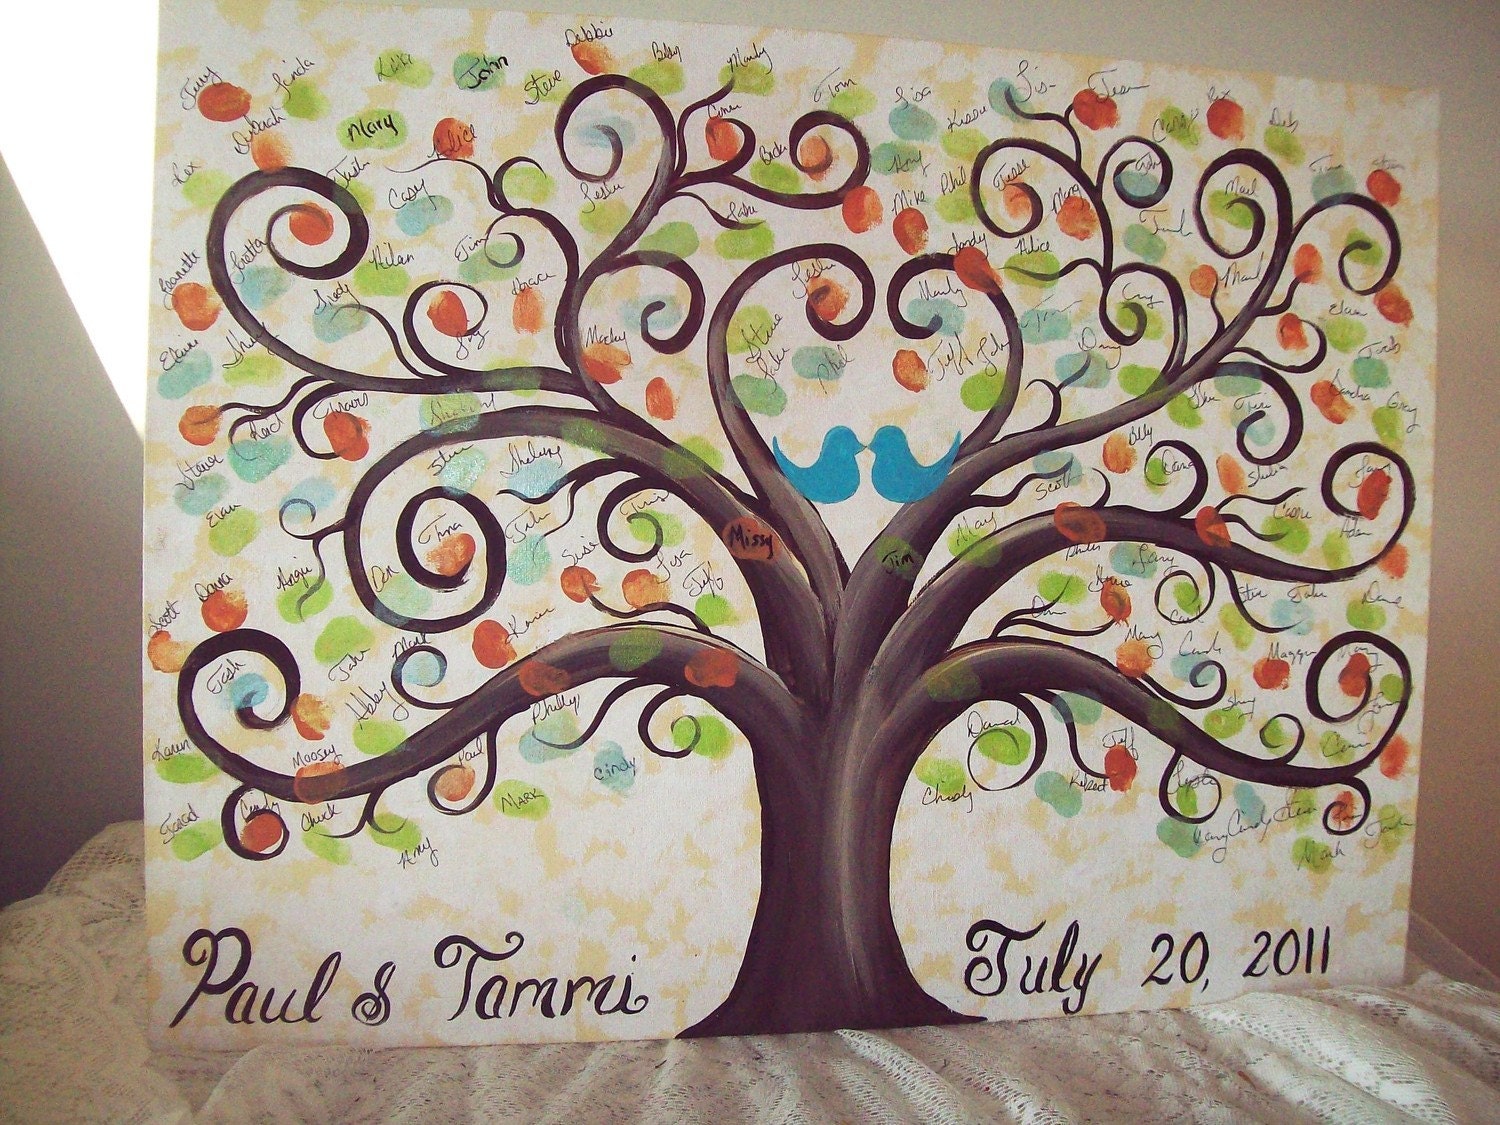


I also considered doing the writing on a Jenga set because I was trying to have all of the fun lawn games etc. (Which despite having a giant Jenga and other various lawn games, no one played any of them at the wedding).


I also liked the idea of using a calendar and having people sign on their birthday so then I would have documentation of everyone's birthday I was supposed to remember.


The traditional guest book was considered, but dismissed. People are already writing cards, No need to make them re-write the same sentiments and then (if they are like me) sign their name in an illegible manner so I have no idea who the note is from anyway.

My mother-in-law was VERY upset I was not doing a traditional guest book. She was like, but how are you going to get everyones addresses and phone numbers!? Of the weddings I have been to I have NEVER written my address/ phone number or any other contact information in the guestbook. If I was supposed to, I am sorry, I failed and was completely ignorant to this practice. Furthermore, if I had wanted to collect this data it would have been a lot more useful BEFORE the wedding and before I sent out invitations to everyone at their addresses. Also, to everyone that keeps telling me how great it will be to get everyones addresses for the invitations nce this will be used for the “Holiday Card list” – I do not send out holiday cards. Maybe I would send out an Ecard- but christmas cards are really just a waste of paper in my opinion. Cards in general are a nice thought, but really I read them, maybe leave them up for a week because I feel obligated, and then recycle them. Save your 41 cents. Just send me an email.

In the end, I decided a picture says a thousand words and to just use the photobooth as a "Guestbook" 

In order to encourage everyone to get their pictures taken I made a note in the wedding programs to make sure they visited the booth. 

Photobooth:
I looked in to renting a photobooth, especially when there were groupon type of deals for some of them, nonetheless, they were at least $1000 to rent. Considering the fat that Jordan is a ‘photographer/ videographer’ with lots of camera equipment and has various coworkers I figured we could harass for a favor – I decided we could make it work on our own.
I put myself in charge of acquiring the props. I looked online at Etsy which had quite the selection, but the cost was a bit much.


Again, thank goodness for Pinterest and google! Check out my "wedding: photobooth" pinterest page for specifics! 

I found a bunch of free templates to use, some of the best being from Oh Happy Day blog and Get Creative Juice blog  


 I am very sorry but I do not know where I  got these from! If anyone recognizes them please let me know so I can give them credit... 


My supply list included:

• Black foam core board from craft store (This was more expensive than I thought it would be ~$6 I discovered after the fact that Dollar Tree sells foam core for $1 for a smaller sheet, but only comes in white so it would have stuck out more.)

• Hot glue gun and glue (I already had the gun, so I just picked up some sticks for ~$1 at Walmart --I KNOW I shouldn't support Walmart, but that is another story entirely.)

• 12” wooden dowels (also from Walmart about $1/ pack of 10, I bought 3 packs).

• Printer

• Sticky felt (My sisters company moved offices and was going to throw away a ton of craft supplies, she rescued it and gave it to some of her teacher friends and myself.)

To put them together: 
1. Print out your props on a printer. 
2. If the print was already colored (Like the Oh Happy Day ones) just glue them right on to the foam board. If not, you can cut out colored paper or in my case stick felt into the shape and then glue onto the foam board with a spray adhesive. 
3. Using an exacto-knife on a cutting board, trace the shape to cut through the foam board. 
4. Using a glue gun, attach the wooden dowel to the side of the prop and wait until it dries. 

I printed out a photobooth sign and framed it in a dollar store frame. 

I rounded out my props I made with random things I had around the house from old halloween and dance constumes such as Bunny Ears, Giant glasses and a biker hat. 

For the booth itself we just used a black back drop and a bench in our garage and some of our photographers (we had Jordan's Uncle and a few of his friends doing out photography) use their cameras and lighting equipment. 

Everyone seemed to have a fun time and the pictures came out great for the most part! 


Some people found their own props to use as well 

 And some people did not even use props! 

There is my very handsome daddy and his girlfriend Valerie 


Even Jordan's 80 year old great aunt and uncle joined in! 


Saturday, December 3, 2011

Giant Jenga

Precursor: Something that drives me insane about BlogSpot is that the formatting can be so weird (weird spacing that does not show up in the original version, changes in font etc). Today: for some reason the background of the writing is white and despite many attempts I cannot change it. So please ignore that issue... my apologies.

As promised: I am back with my full report of my Giant Jenga making. The beginning and inspiration behind the project can be seen here. 


Despite the fact that I cannot even remember the last time I played any game of Jenga, Pinterest  inspired me to want to create a larger version of the game (Possibly for a fun lawn game at the wedding, or just for general play time fun.) 


They do, in fact, sell giant Jenga sets (also known as the Tumbling Tower) but alas these sets are around $100- which seems rather excessive. Furthermore, there are plenty of tutorials available online of people who have successfully made their own giant Jenga's for a fraction of the cost. Thus, I decided since I am currently partially unemployed, I might as well use my time doing something productive - like making a Giant Jenga. (Note slight sarcasm.) 


As wikipedia informs us: "Jenga is played with 54 wooden blocks. Each block is three times as long as it is wide, and one fifth as thick as it is long." Online tutorial suggestions to just purchase 2x4s and cut them into 10.5 inch pieces. This will not get the exact dimensions of the original game, but frankly it sure beats having to make that many cuts. 


I purchased seven 8 foot 2x4s and had them cut them into 10.5 inch sections. I felt rather obnoxious having them cut all of those pieces for me, but they did it in about 5 or so minutes with their fancy saw and superior cutting skills, whereas I am sure it would have taken me about 12 hours to accomplish the same task with my little hand saw. 


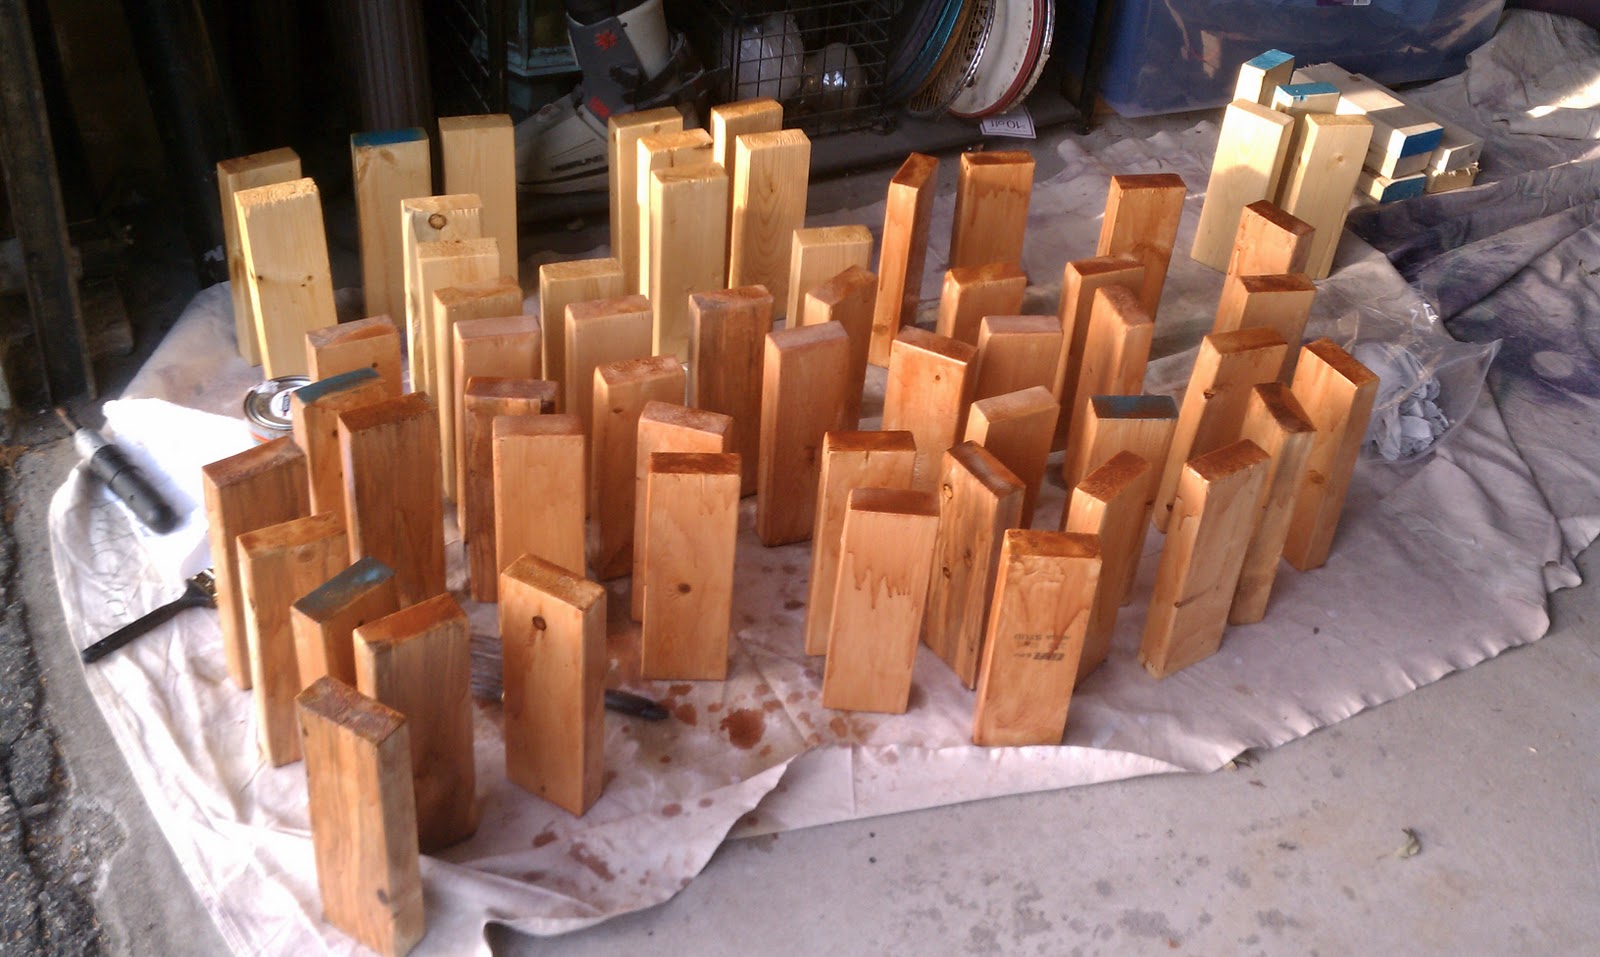
Some of the wood is seen above.


Unfortunately, I discovered that having the guy at the shop cut the wood for me may have been convenient, but he did not do it very accurately and I wound up with quite a few pieces that were not the right size. 


Luckily, there were exactly 54 pieces that were the right length, though some of them were rather knotty or otherwise not the most ideal pieces. 


Next- I spent many hours sanding each of the pieces using my little Black and Decker Mouse sander. I tried to sand any fraying pieces of wood, and to round out the corners slightly. This felt like a painfully long task (though it was really only maybe 5 or 6 hours total). Other tutorials note sanding for over 12 hours! 


Note: if using a power sander be sure to wear a ventilator mask, protective eye wear and sand in a well ventilated area. I worked in the garage with the doors open. (I tried to take an awesome picture of myself in all of my safety gear but it appears I was unsuccessful. Pity.) 


Finally, I coated the wooden pieces with Minwax sealant and polyurethane (I used the classic oak color.) 
Wear gloves while while polyurethaning as it is very difficult to get it off of your hands. 


When I started the task on Wednesday it was about 60*F, and the polyurethaning seemed to go better than when I finished on Friday, when it was about 40* F. The colder weather made the sealant dry faster, which left more streaks, whereas on Wednesday it dripped all over the wood and left a nice smooth finish. 

You may notice there are some pieces with awkward blue ends. This was the color of the ends of the 2x4s. I attempted to sand off the color, but was unsuccessful. I figure I could always add an additional rule associated with the blocks with blue edges, such as that player goes twice or skips a turn, whatever. 

You could also paint the blocks different colors or make a variation of the original Jenga- such as some of Hasbro's versions like "Truth or Dare Jenga."

Another idea (via Pinterest) Is to make a Jenga "Guest Book" and have guests write messages on each of the tiles. This could be a good idea for weddings, anniversaries, birthdays etc. The giant Jenga would allow for more writing room than the original version! 


Total cost of the project: 


* Wood $19
* Minwax $10
* Sandpaper $7 
_______________
total = $ 36


A heck of a lot less than $100! 


You may also need to buy paint brushes, the ventilator or safety goggles, which would increase your cost a bit, but if you take care of them they can last through a few projects. 

Wednesday, November 30, 2011

Wine Wednesday

I love having weekdays off, they seem so much more special and deserving of productivity than weekend days off. 

I currently have Wednesdays off, which is quite a nice little mid-week break, and a great time to get random errands and projects done.

My To-do list for today included:
·      Walk Leo
·      Yoga
·      Shower
·      Sand wood
·      Put up decorations
·      Pack lunch
·      Blog -- in progress :)

You may be aware that I have a slight addiction to Pinterest. There was some quote that says something to the matter of The irony of pinterest: the website where you pin inspirational pictures of workouts and ideal bodies, next to decadent, calorie laden foods.  

I could not find the exact quote I was looking for, but this one has similar sentiments.


The sentiments of the quotes are for the most part is true, but I have found it quite useful for compiling ideas I want for the wedding (including pinning possible bridesmaids dresses, food, and other general inspiration .... um I told you I was addicted already, give me a break).  I have also used it a lot for finding recipes, and some crafts. 

Today I started working on my very own Giant Jenga set (Inspired by pinterest of course)... I haven't finished my set yet so this one will act as my inspiration picture. I ran out of sand paper while sanding, so I will have to pick up on this project next time I have time (to be continued...)

After putting off my Giant Jenga making, I then set off to decorate the house.

For those of you that do not know, Jordan and I were planning to move to California so that he could more actively pursue his screen writing career, but alas we put off our plans after getting engaged and choosing to get married on the east coast (that coupled with the job market and me not being able to fine a job on the west coast.) 

So, for the time being we are living with his parents up in Gloucester, MA which is quite nice, and not paying rent is helpful for saving up some money, though the commute is a bit of a pain. We technically live in a little "cottage" off of his parents house, so we do not have room for a Christmas tree or many decorations inside of the house, so instead, I decorated the trees outside.

Alina (Jordan's Madre) had a couple of big shatter-resistant ornaments for the outside, but she sent me to get more when I made a trip to Home Depot (for my Jenga supplies...) I bought the 100 piece Martha Stewart shatter-resistant ornament set.


At the time of decorating, I started to think I made a terrible decision on the purchase! Not because they were a bad quality or anything, but simply because 100 + ornaments are really annoying to put up on your own, especially when spread across 7 outdoor trees! 

In the end, I think they came out pretty good (though I was not able to get any good pictures via my phone unfortunately.) 


After tree decorating, it was time for a late lunch of an antipasto-salad with: baby spinach, iceberg lettuce, roasted potatoes, carrots and onions, american cheese and deli ham and topped with Trader Joe's fat free balsamic vinaigrette.


Yes, it is in a mixing bowl... again, let's reserve judgement. Thanks.


Leo snugged up with me during lunch time, and then we went on a nice 3 mile wog (that's walk/ jog) along the ocean and through the woods.


After returning from the puppy wog, I felt really lazy and tired, so decided to scrap the yoga and just shower.  Furthermore, it is in fact #WineWednesday so I felt that I should honor it. We oddly are out of wine so I made due with a glass of this weird Sangria drink that Jordan's sister left behind.


 It is a very sweet wine drink with fruit juice in it. I had to water it down a lot. Nice fruity flavor, though clearly not for the wine snob. 

And now I have finished off as much as my list as I am going to today- and so- I bid you adieu!